Electric Objects EO1 Digital Art Display Teardown
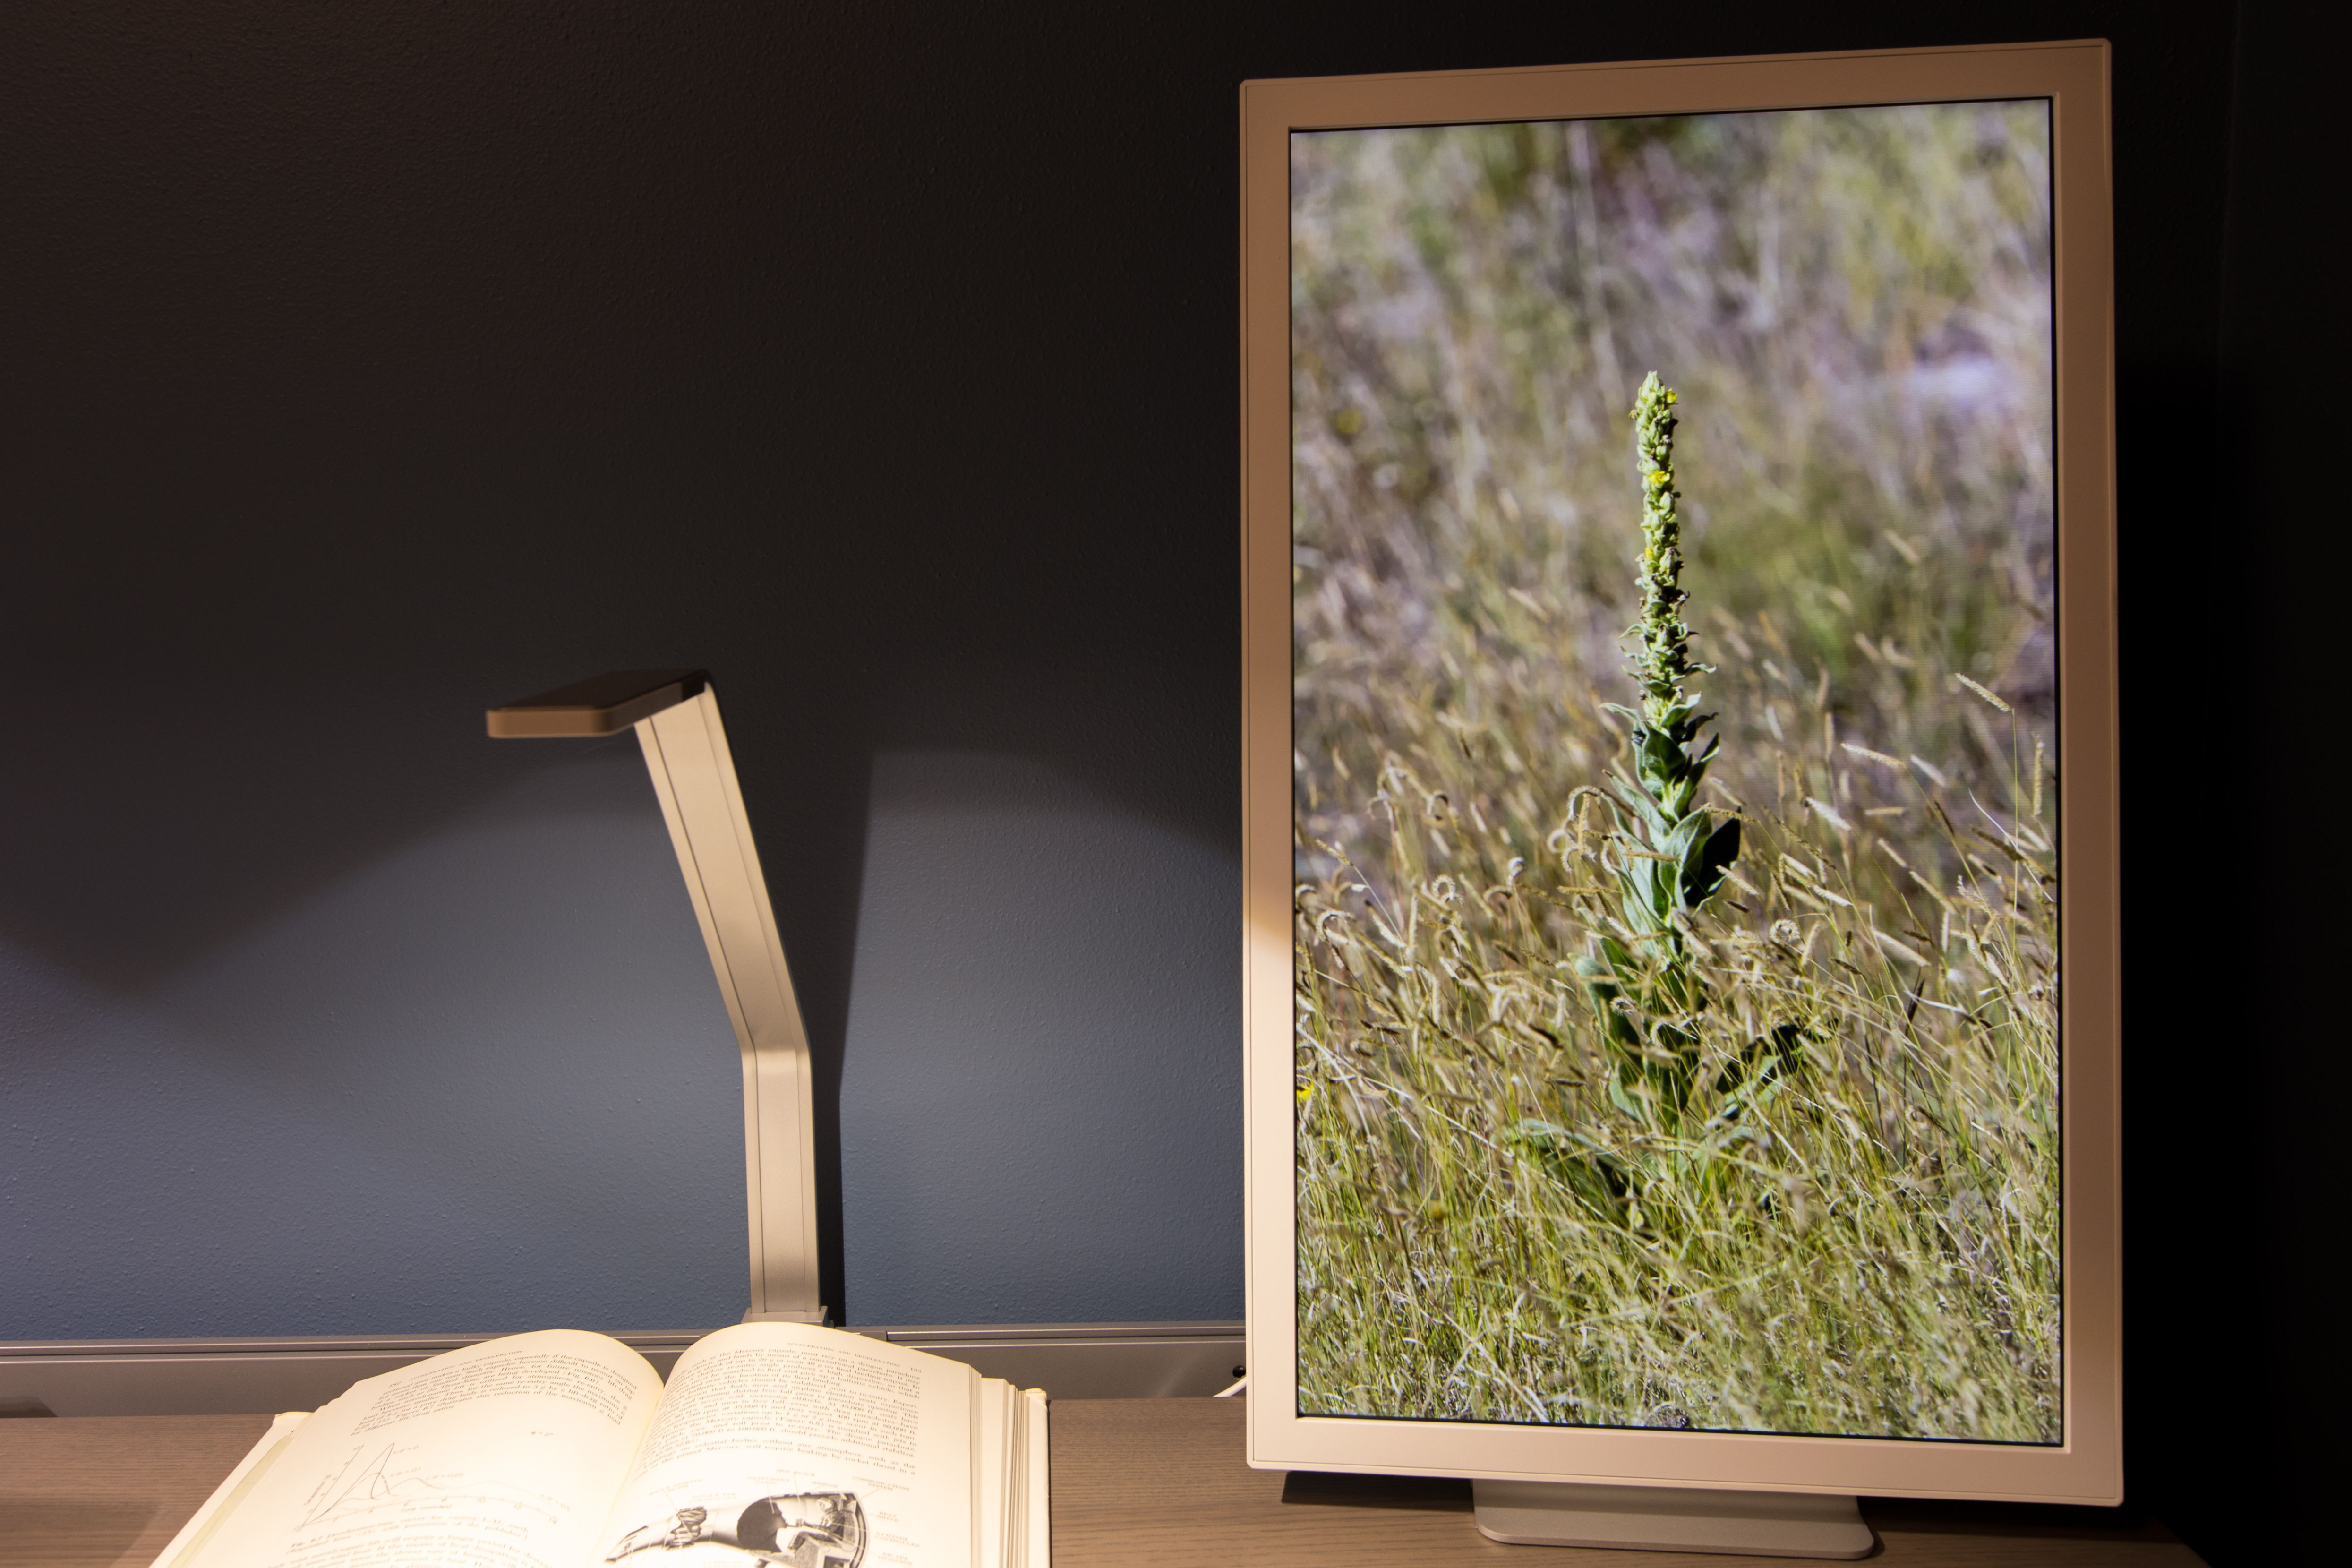
In August of 2014 Electric Objects successfully completed a crowdfunding campaign on Kickstarter for their first product, the EO1. The EO1 is a dedicated digital art display built around a standard 1080p format screen. They managed to implement and ship a mature product in 2015, beating the significant odds stacked against crowdfunded hardware. I was not aware of the project when they were soliciting funding on Kickstarter; I picked up my unit second-hand earlier this year.
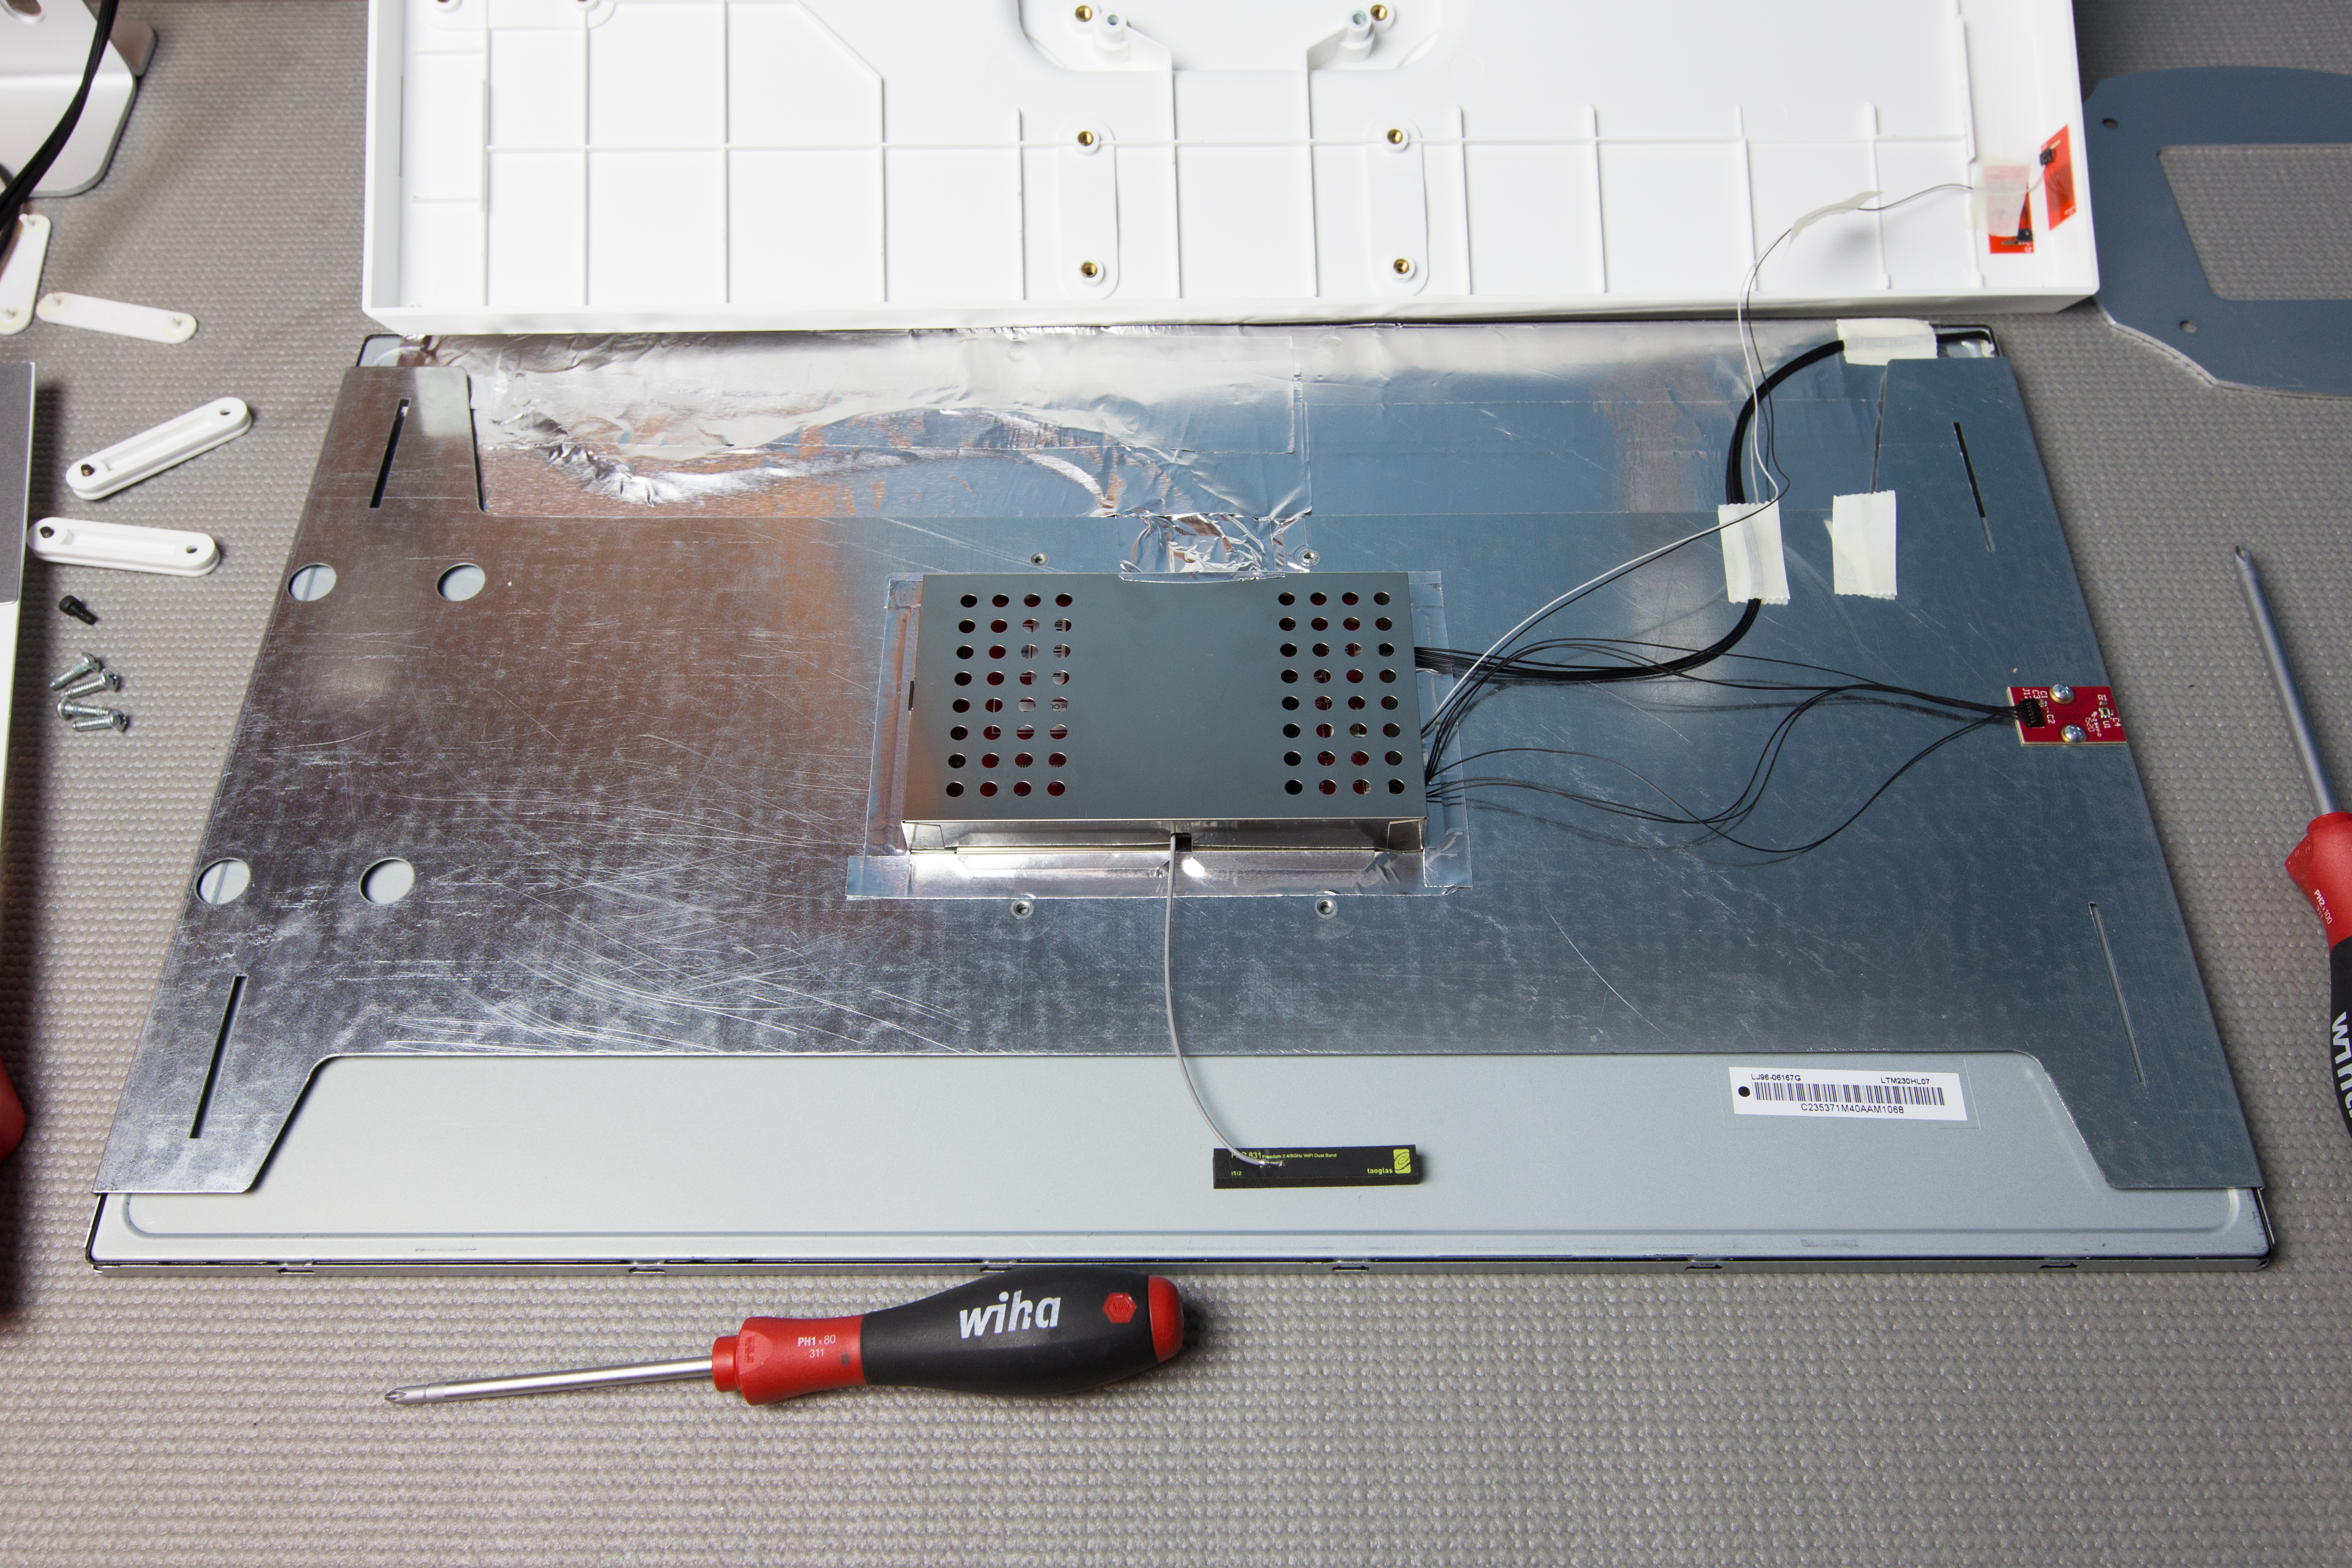
The EO1 is rather simple to open. The front bezel is attached with magnets and easily lifts off, following the instructions on the Electric Objects site. Removing the bezel reveals the inside part of the plastic frame, which is friction-fit by plastic clips along the outside edge. The inside frame lifts out easily after releasing the clips. The inside metal chassis is released from the outside frame by undoing the eight screws on the back: four attaching the metal wall mounting plate and another four underneath.
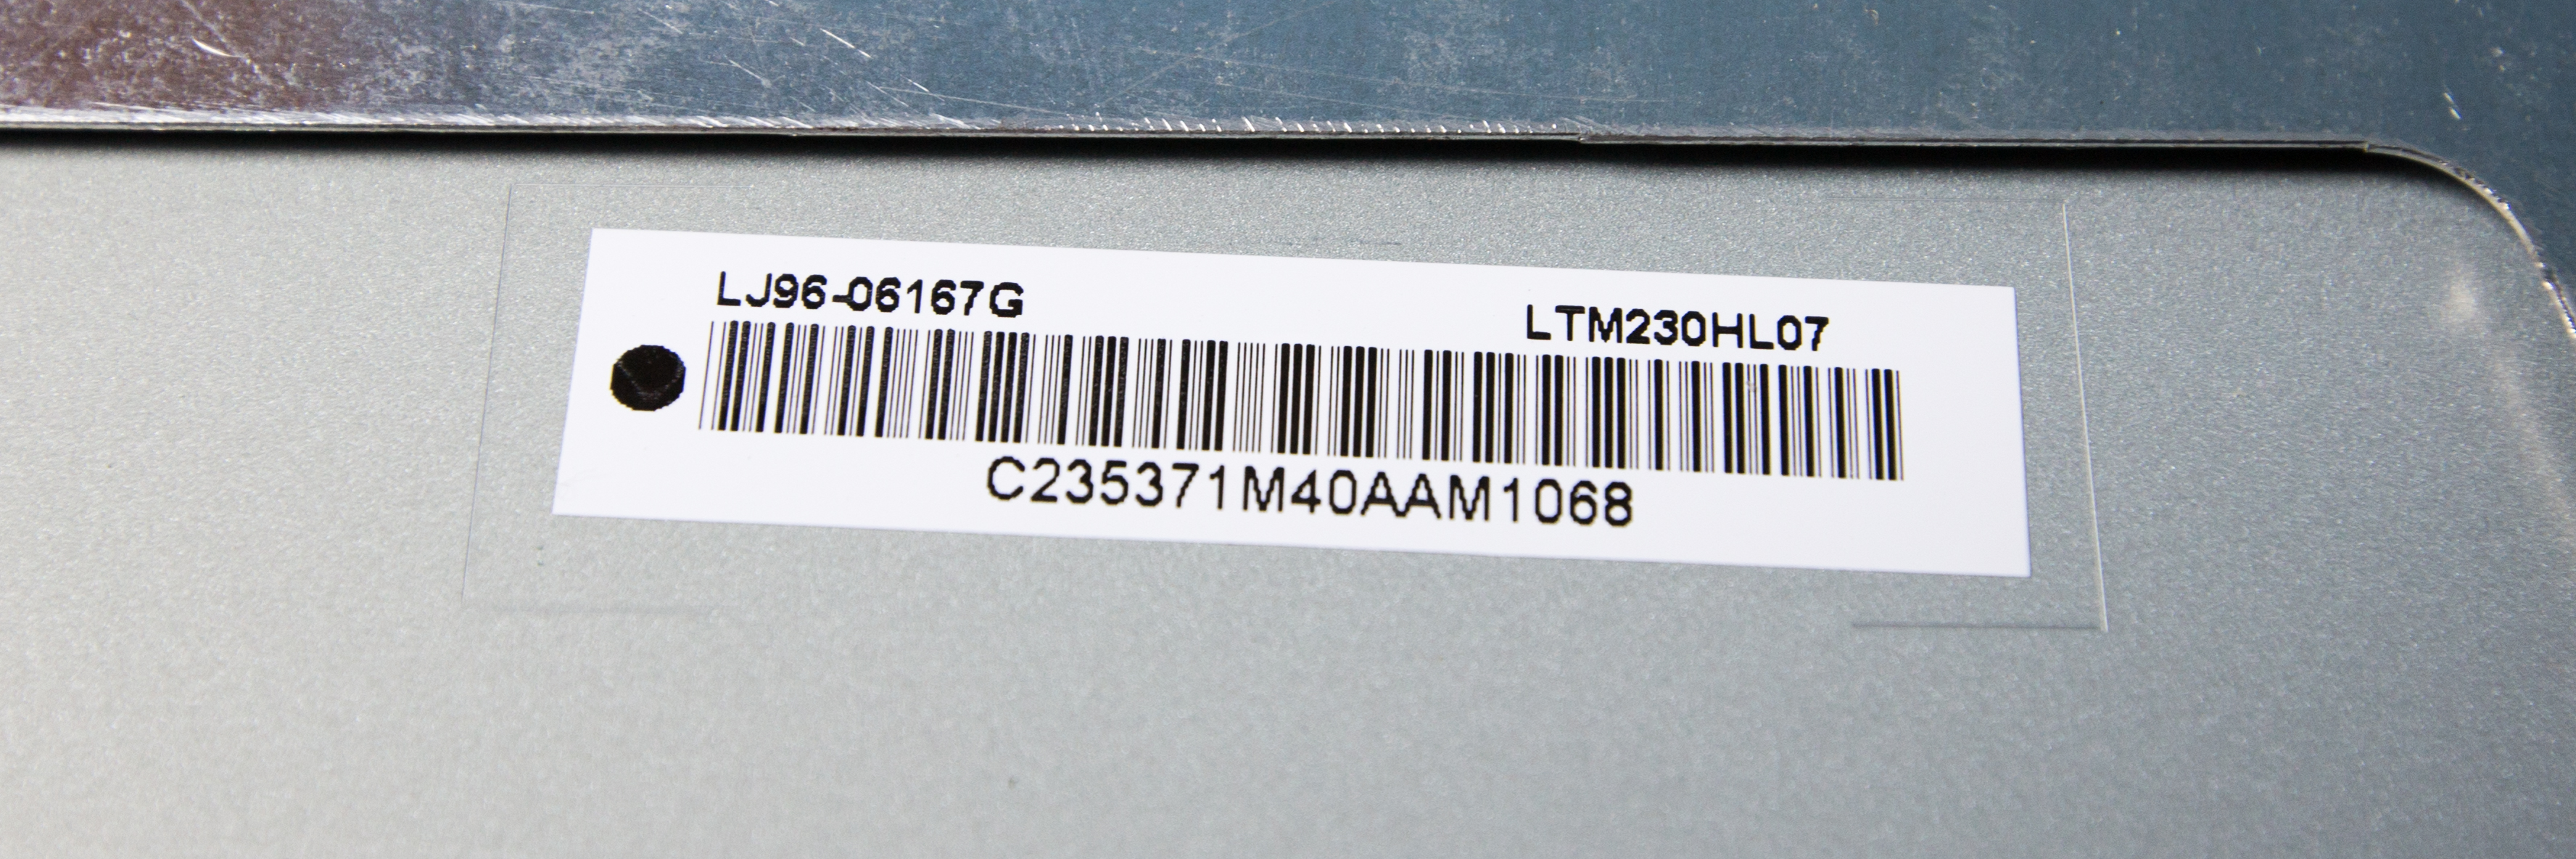
The display is really what sets the EO1 apart from cheaper digital art or photo frames. The EO1 is currently manufactured with a Samsung LTM230HL07, a 23” matte PLS panel with 1080p native resolution and 300 nits of brightness. In person it’s very nice to look at, especially at lower brightness. There are always trade-offs with panel size versus pixel density versus cost and I think the Electric Objects team did very well here. Pixels are not visible by the naked eye when standing a comfortable distance away.
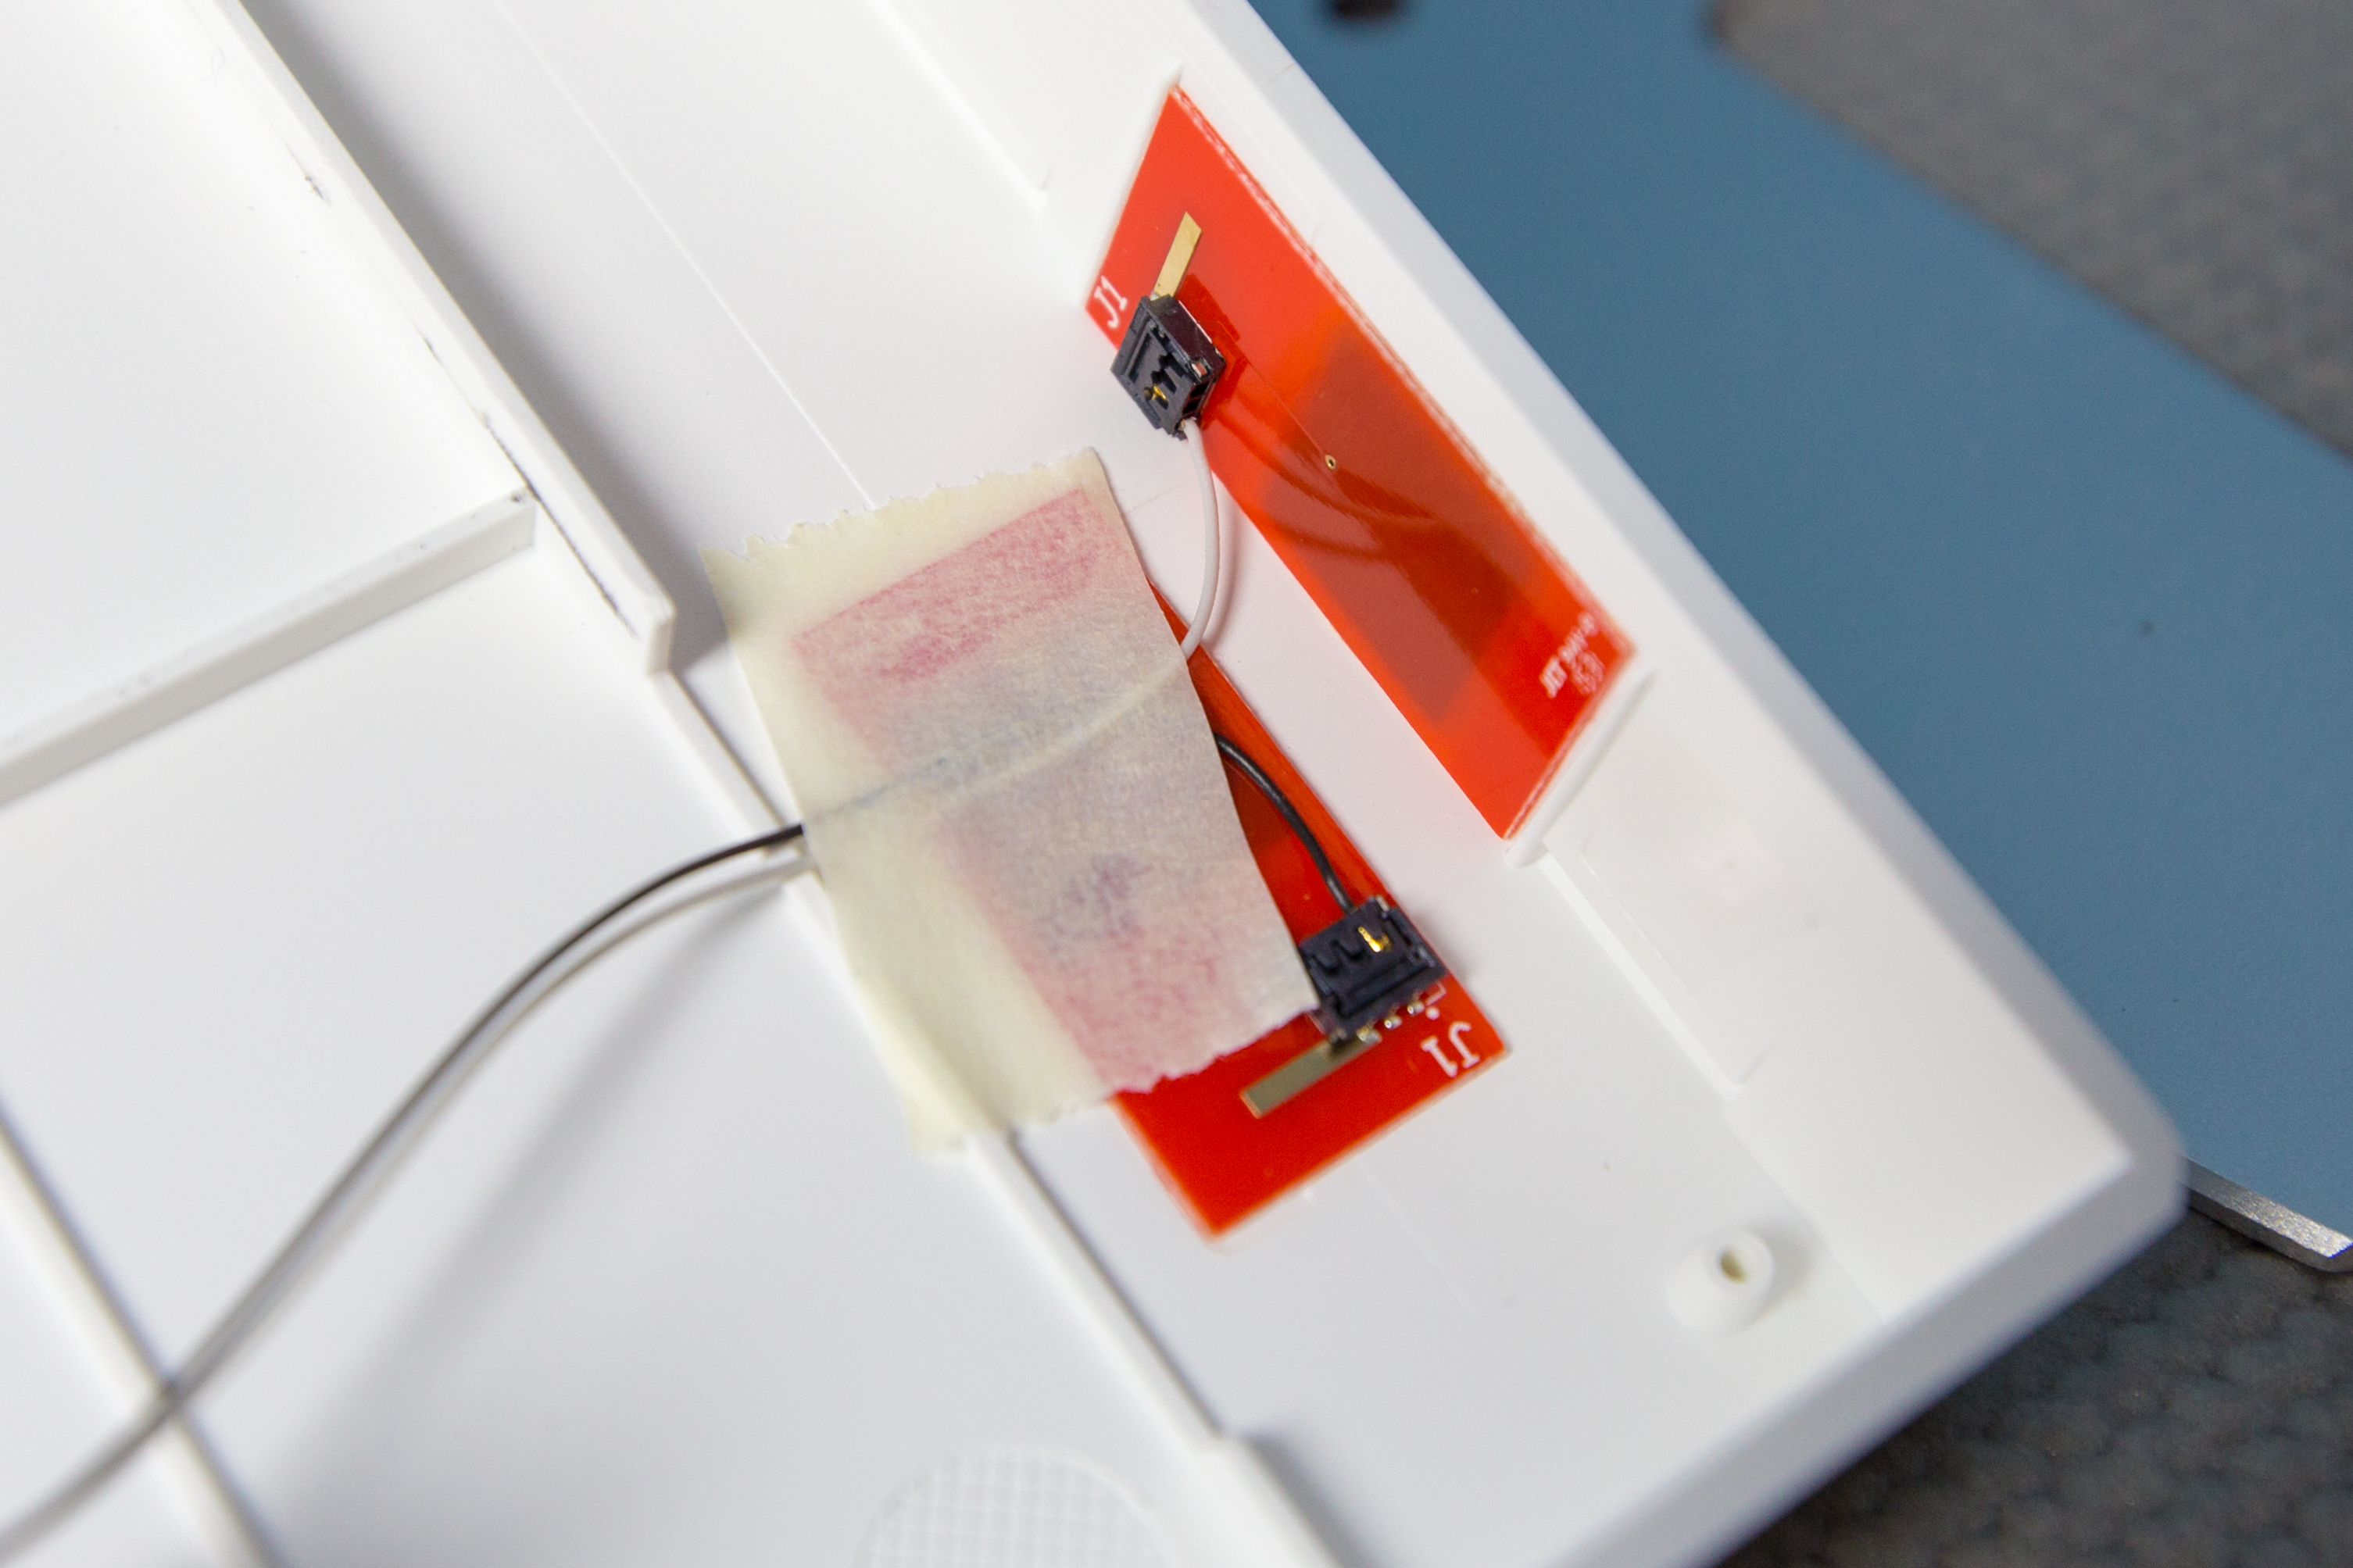
Two capacitive buttons turn the EO1 on and toggle the display’s backlight: one on the top edge of the frame imprinted with the Electric Objects logo and one immediately behind it on the back of the frame in a slight dimple. Each button has a single wire running down to the motherboard.
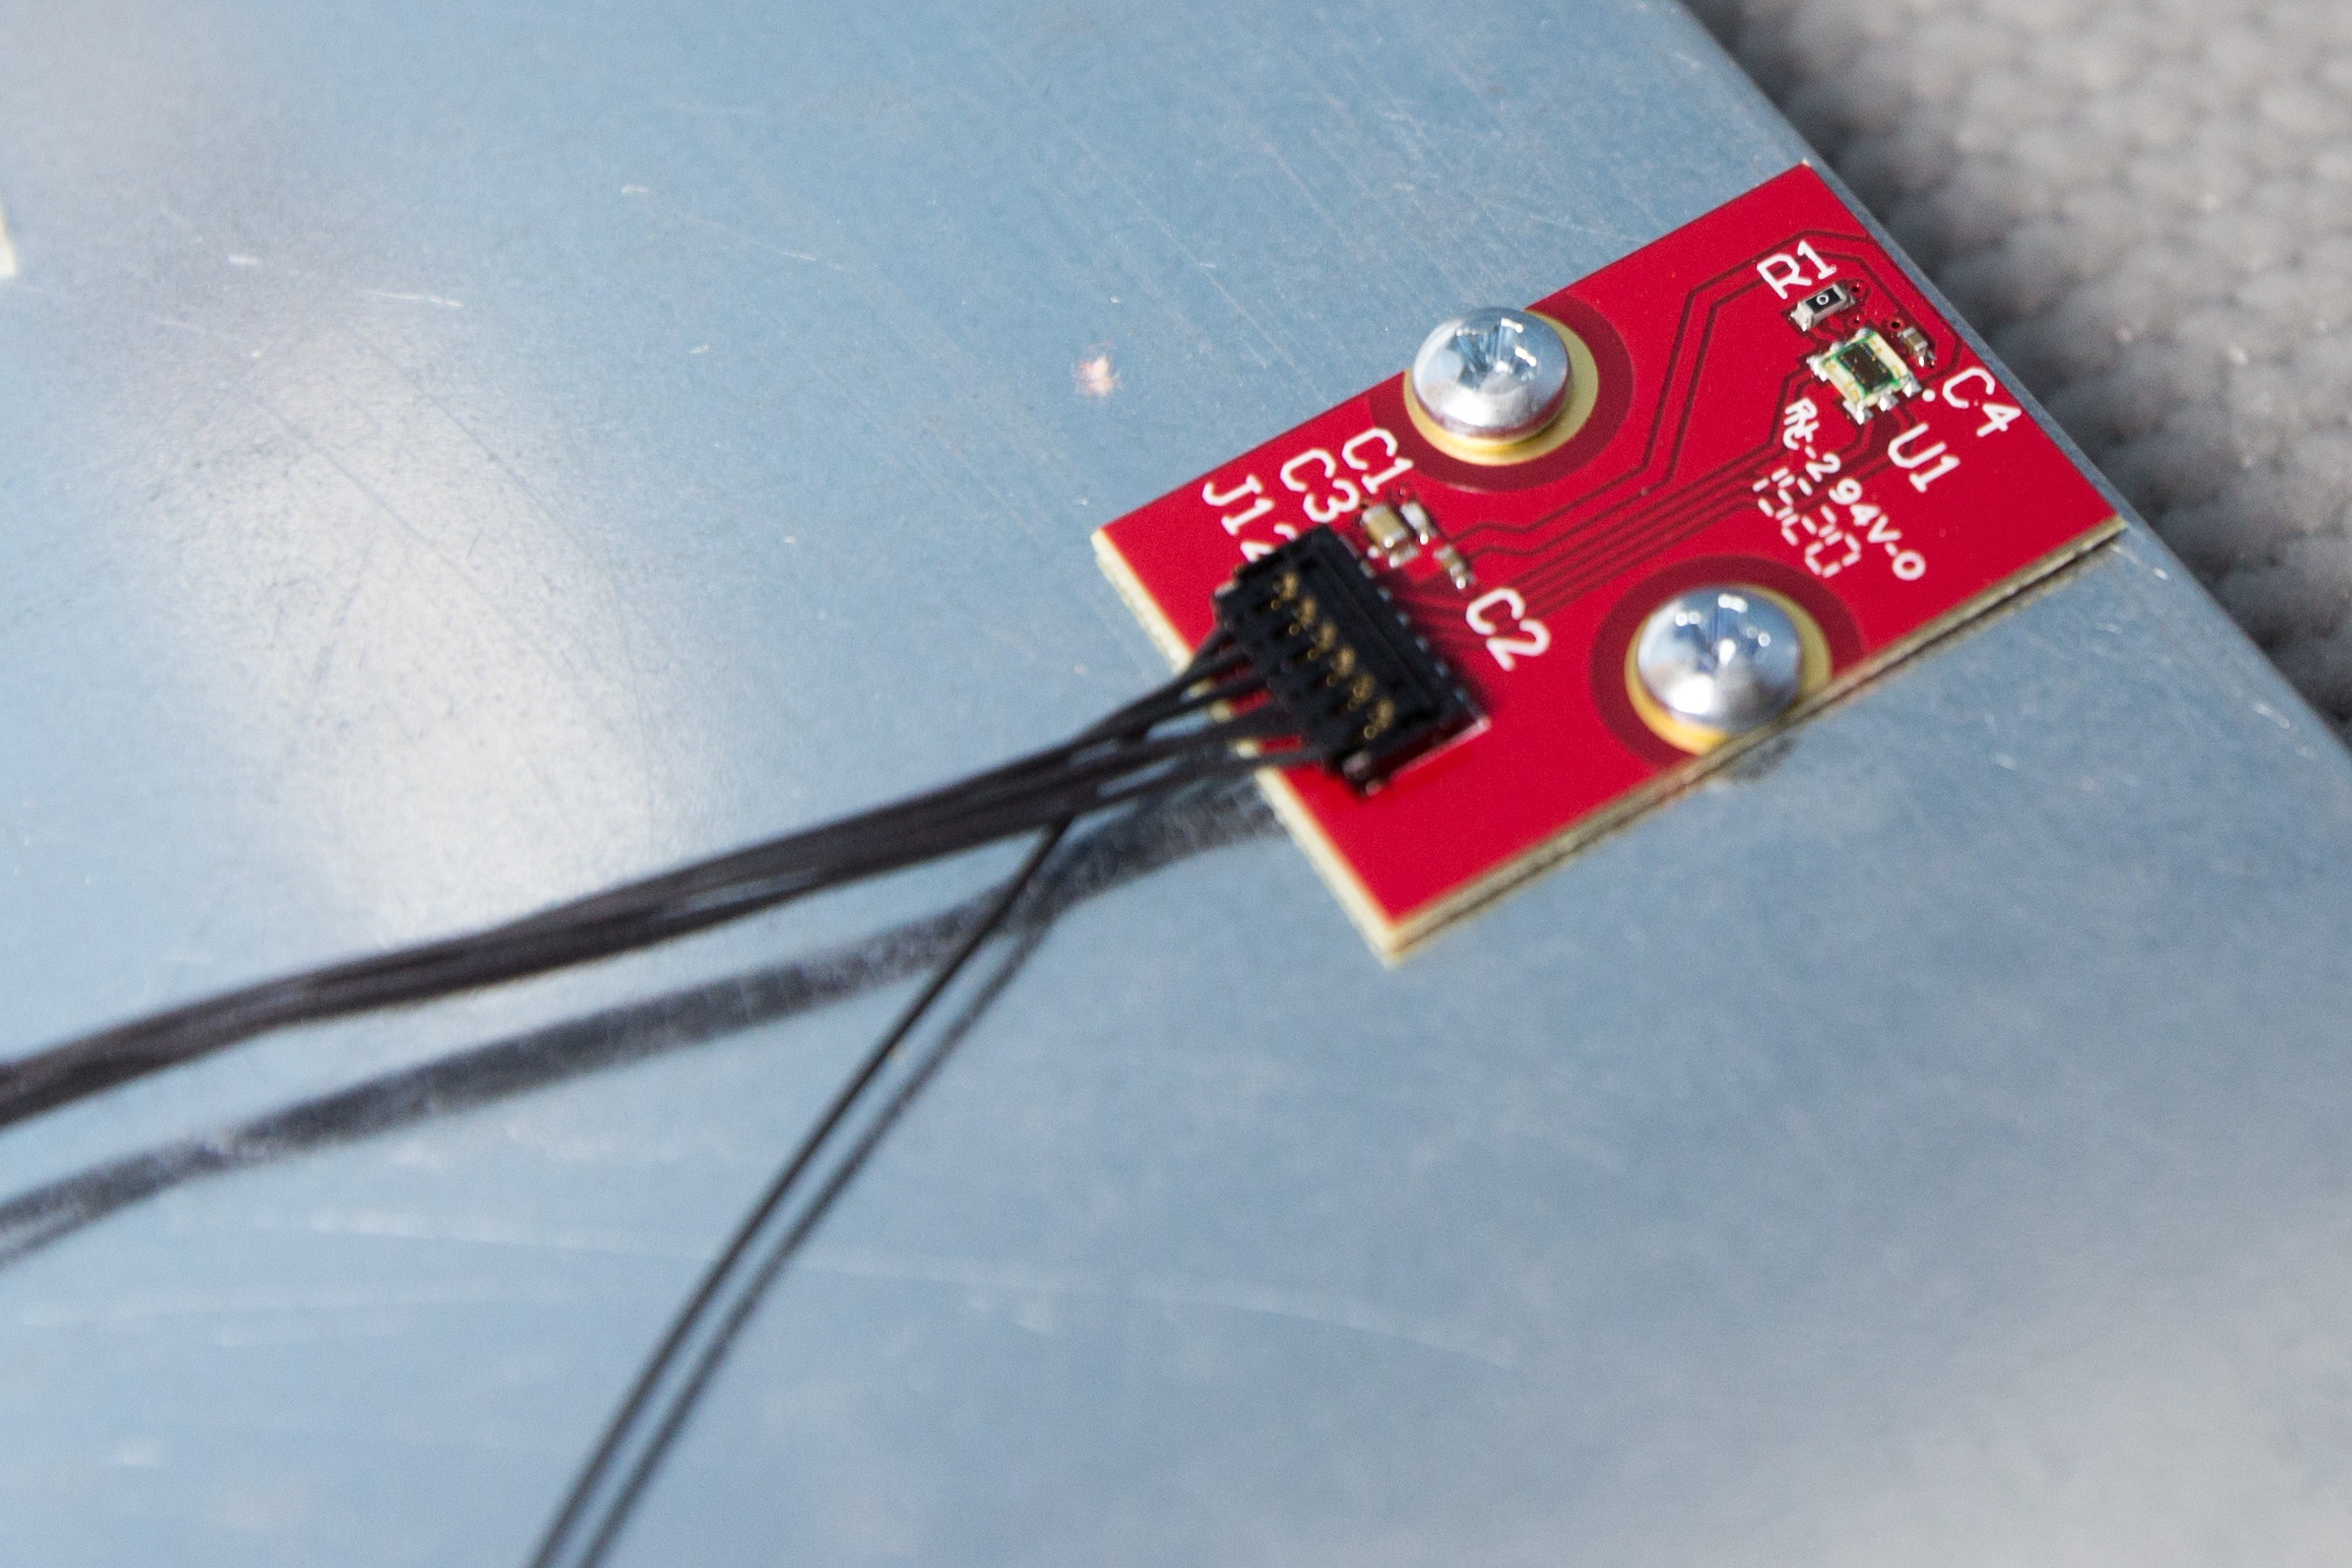
A luminosity sensor is positioned to face the wall immediately behind the EO1. This allows it to collect good informatioon about the ambient light in the room and adjust the display brightness accordingly. The sensor package lacks any identifying markings so I’m unsure of its exact sensitivity and capabilities.
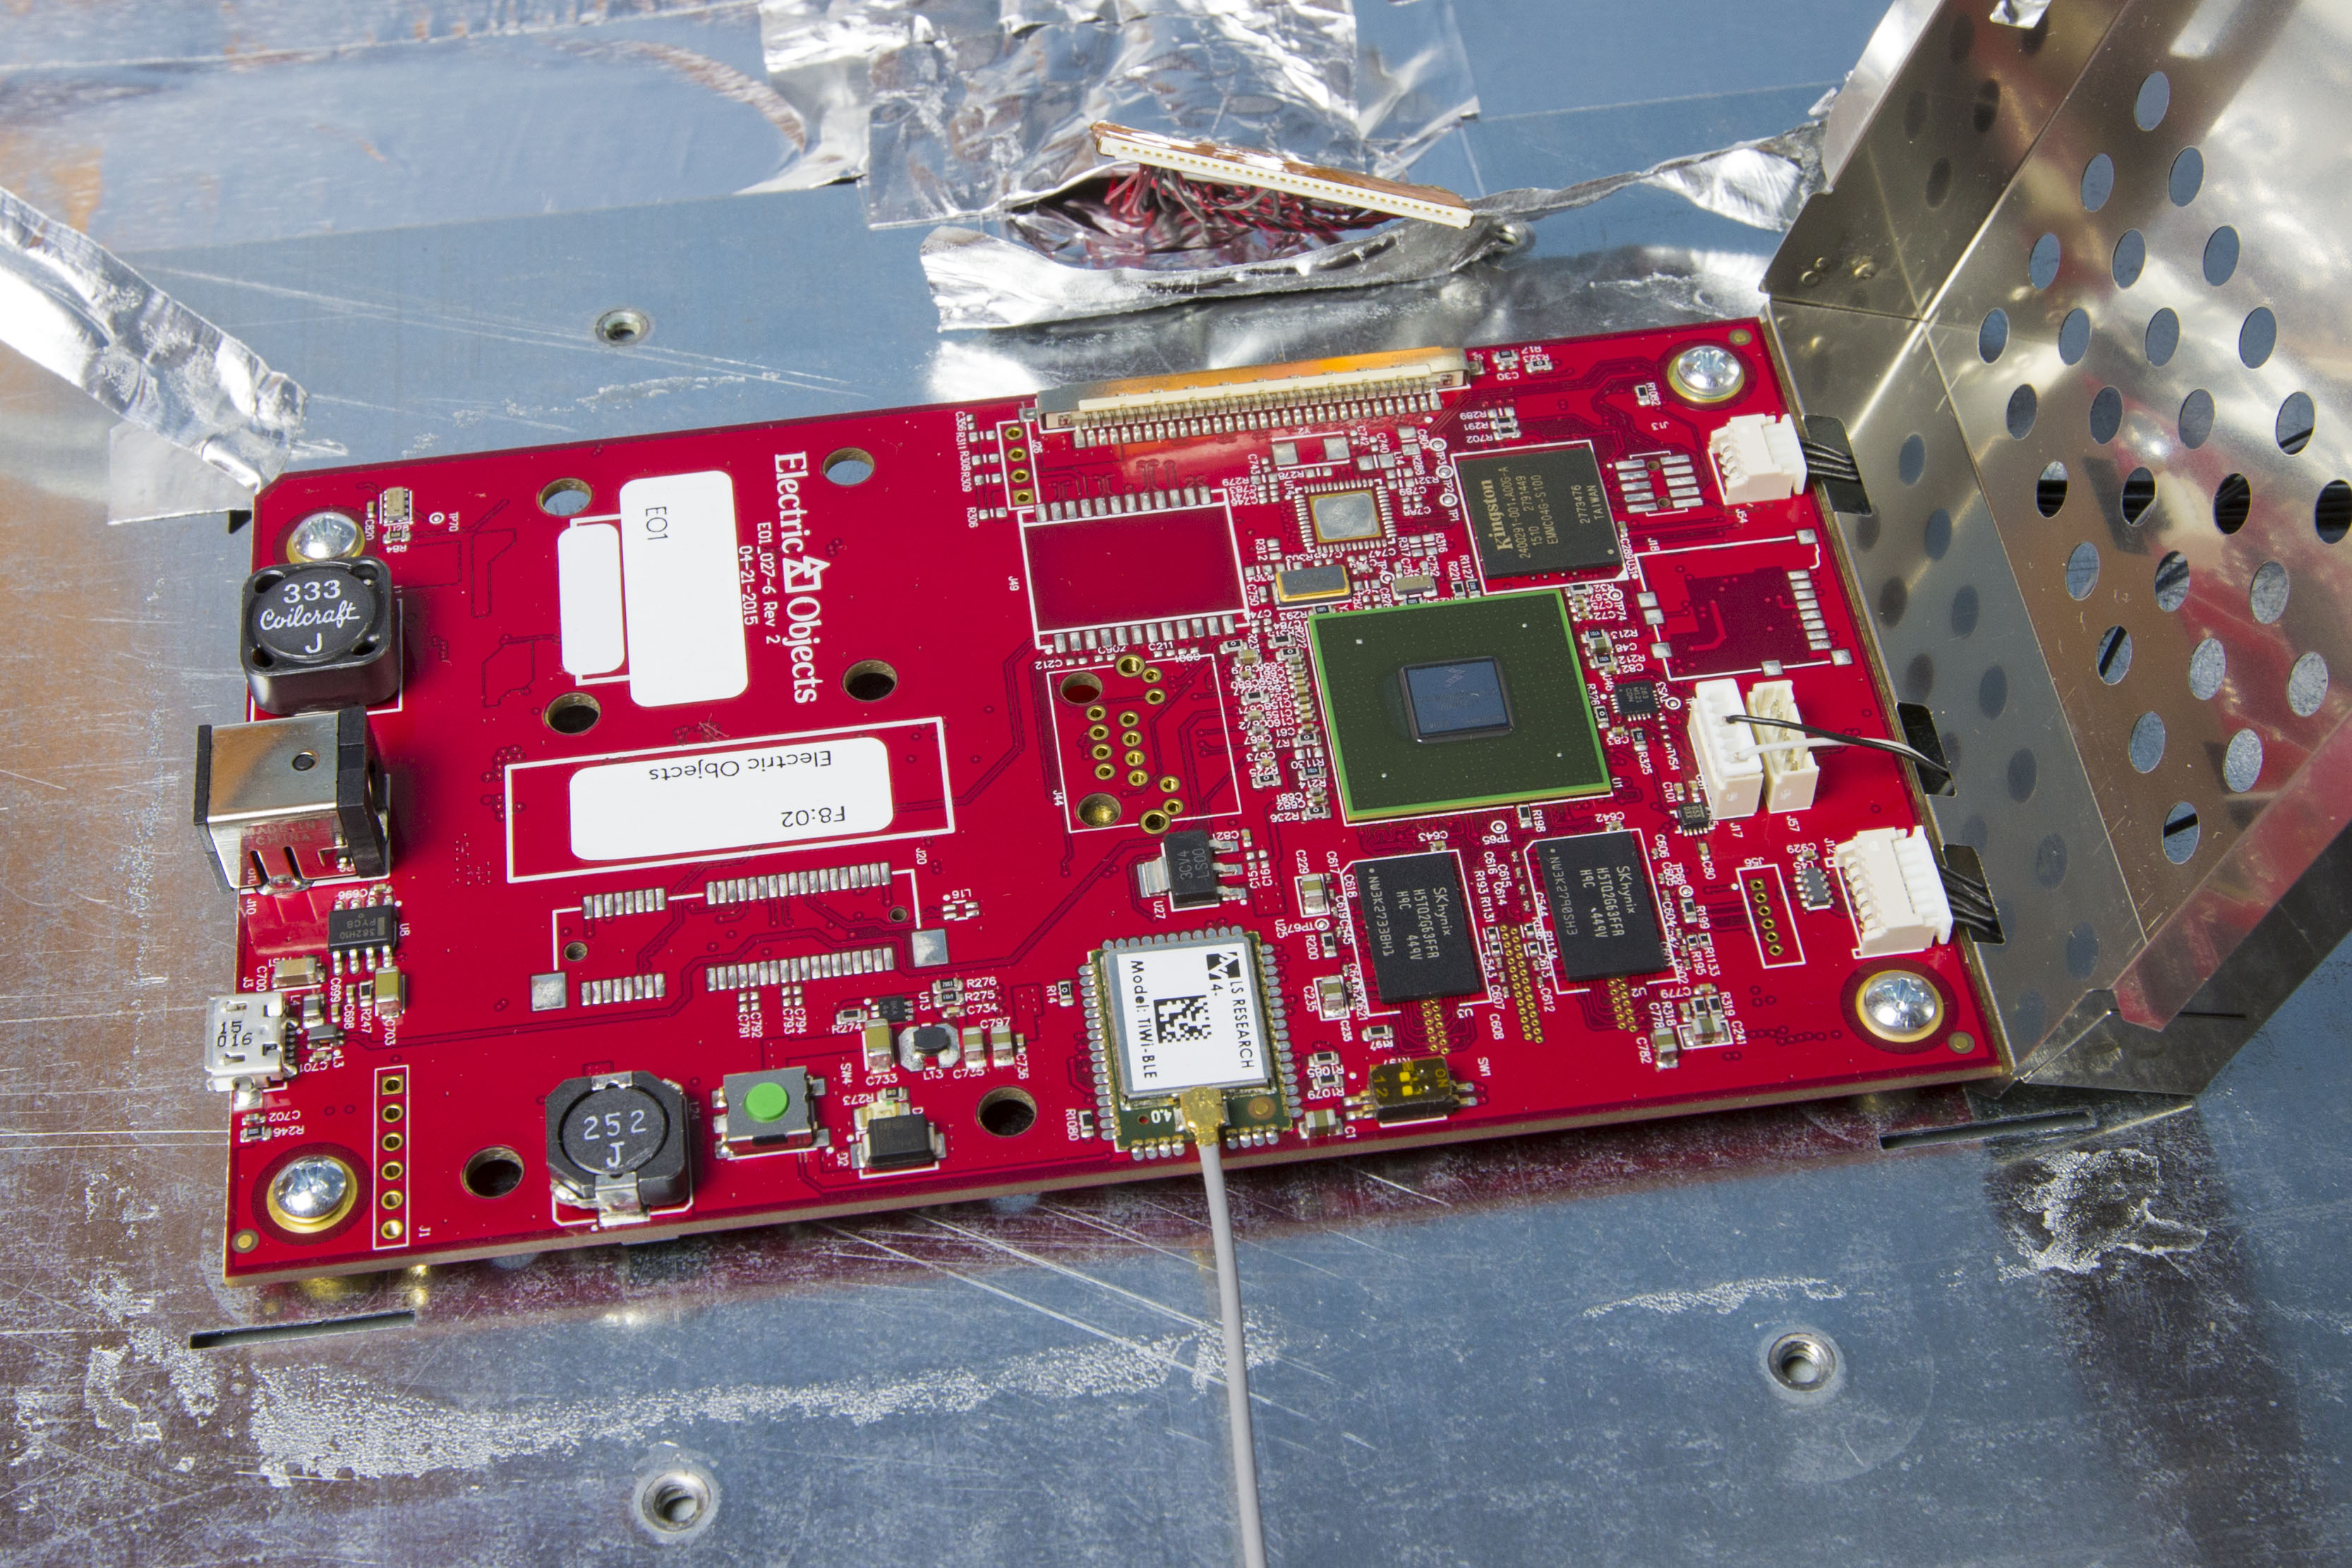
The top of the main board contains most of the interesting components: an ARM processor, a WiFi/BLE module, RAM, storage, and various connectors. There are pads for a few unpopulated components: an ethernet jack, ethernet magnetics, ethernet controller (presumably), and a microSD card slot. The following components are of primary interest.
- A Freescale MCIMX6D5EYM10AC 1GHz dual core ARM processor.
- An LS Research TiWi-BLE WiFi and BLE pre-certified module.
- A Kingston EMMC04G-S100 4GB eMMC storage chip.
- Two Hynix H5TQ2G63FFR 2Gbit DDR3 DRAM. When combined with the two DRAM modules on the bottom provide 8Gbit (1GByte) of RAM.
- Connectors for display power, LVDS display signal, the luminosity sensor, and the capacitive buttons.
- A tiny pair of surface mount DIP switches.
- A little green button.
- A DC barrel connector, accessible from outside of the display.
- A micro-USB connector, also accessible from outside of the display. This USB port supports USB OTG.

The bottom of the main board is of little surprise. Additional DRAM chips, the real-time clock, and DC-to-DC conversion circuitry. A rather heavy bodge wire runs nearly the length of the board providing extra current to the processor.
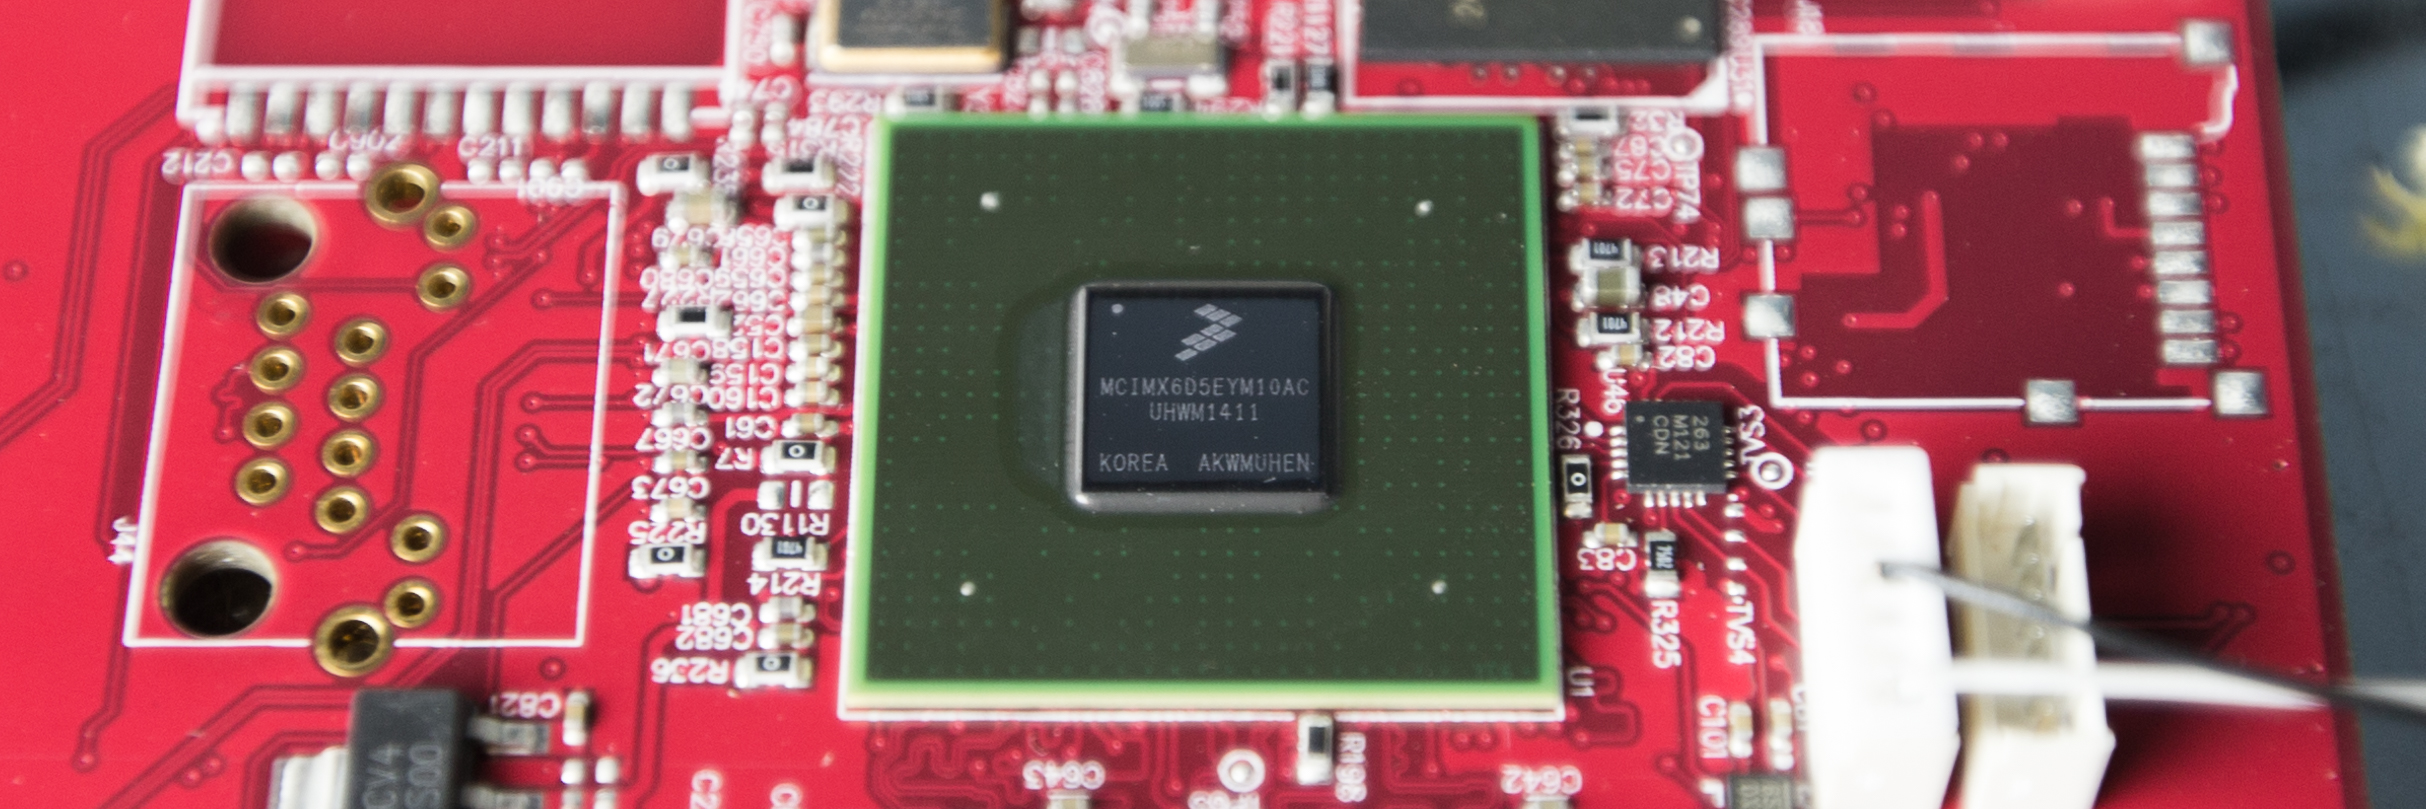
The Freescale MCIMX6D5EYM10AC processor is a pretty grunty little chip. It’s a 64bit 1GHz dual-core ARM processor with an integrated GPU. Procedural art is one of the most intriguing and, unfortunately, weakest areas of the EO1. This is a little surprising given the onboard processor. One would hope software optimizations down the road improve the situation.
Connecting the micro-USB connector found on the back to a desktop computer exposes a USB media transport protocol (MTP) device named “NITROGEN6X.” The NITROGEN6X is a development board sold by Boundry Devices and may very well have been the reference implementation the Electric Objects team used. A bug filed with the Crosswalk Project by an Electric Objects developer mentions the NITROGEN6X. Another Electric Objects employee has a fork of the Boundry Devices Android OS manifest for the NITROGEN6X and other Boundry Devices boards running ARM processors of the same family. Additionally, the EO1’s main board and the NITROGEN6X share similar traits, but there are really only so many ways to design these types of boards.
On this MTP device is a standard Android-style file layout, the first suggestion that this device is using Google’s popular mobile operating system. The second suggestion comes from enumerating the USB device itself. It has a vendor id of 0x18d1 which belongs to “Google Inc.” and a product id of 0x4e42 which is for the “Nexus 7 (debug).” This suggests that ADB might be enabled.
[jhe@oxcart platform-tools]$ ./adb devices -l
List of devices attached
011522XXXX             unauthorized usb:1-1
A quick check with the adb tool confirms that ADB is enabled. However, in order to authorize the ADB session a dialog on the EO1 itself must be acknowledged. The lack of a touch screen, or really any sort of inputs for that matter, presents a challenge in doing this. I’m sure it’s possible to authorize an ADB session, but likely not straightforward. There may be another USB host port accessible through pads on the motherboard which can be used to attach a mouse or keyboard. J20 looks promising.